
CREATE A GNS3 TOPOLOGY:
CREATE A GNS3 TOPOLOGY:
Once you have integrated the new virtual machine with GNS3, you can now create topologies that contain the new VM.
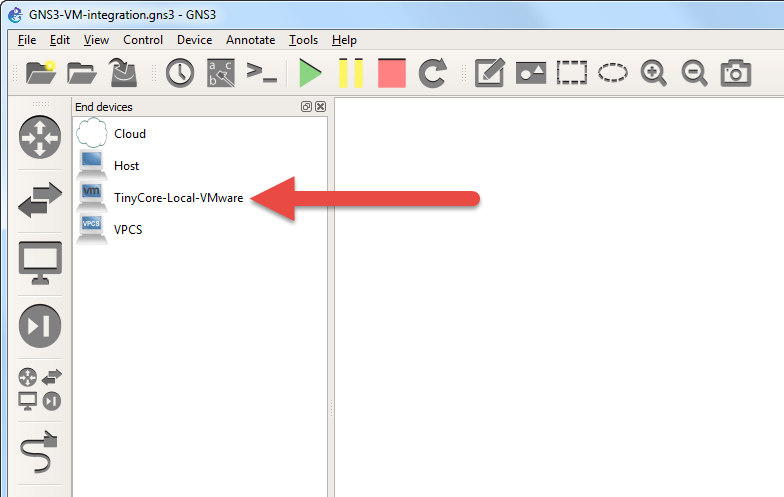
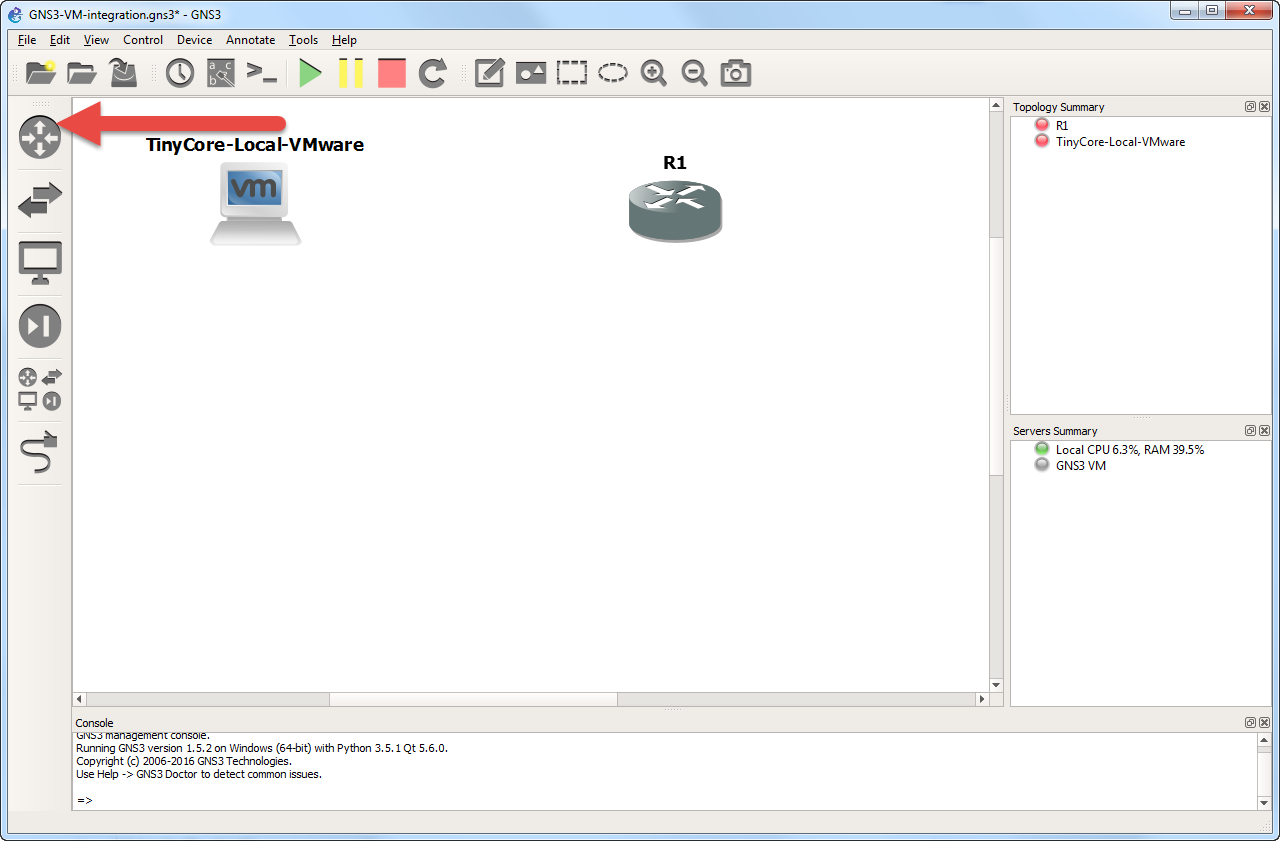
To create a new GNS3 topology, select a group of devices in the Devices Toolbar by clicking the Browse End Devices button

The new virtual machine is now available to be added to a GNS3 topology:
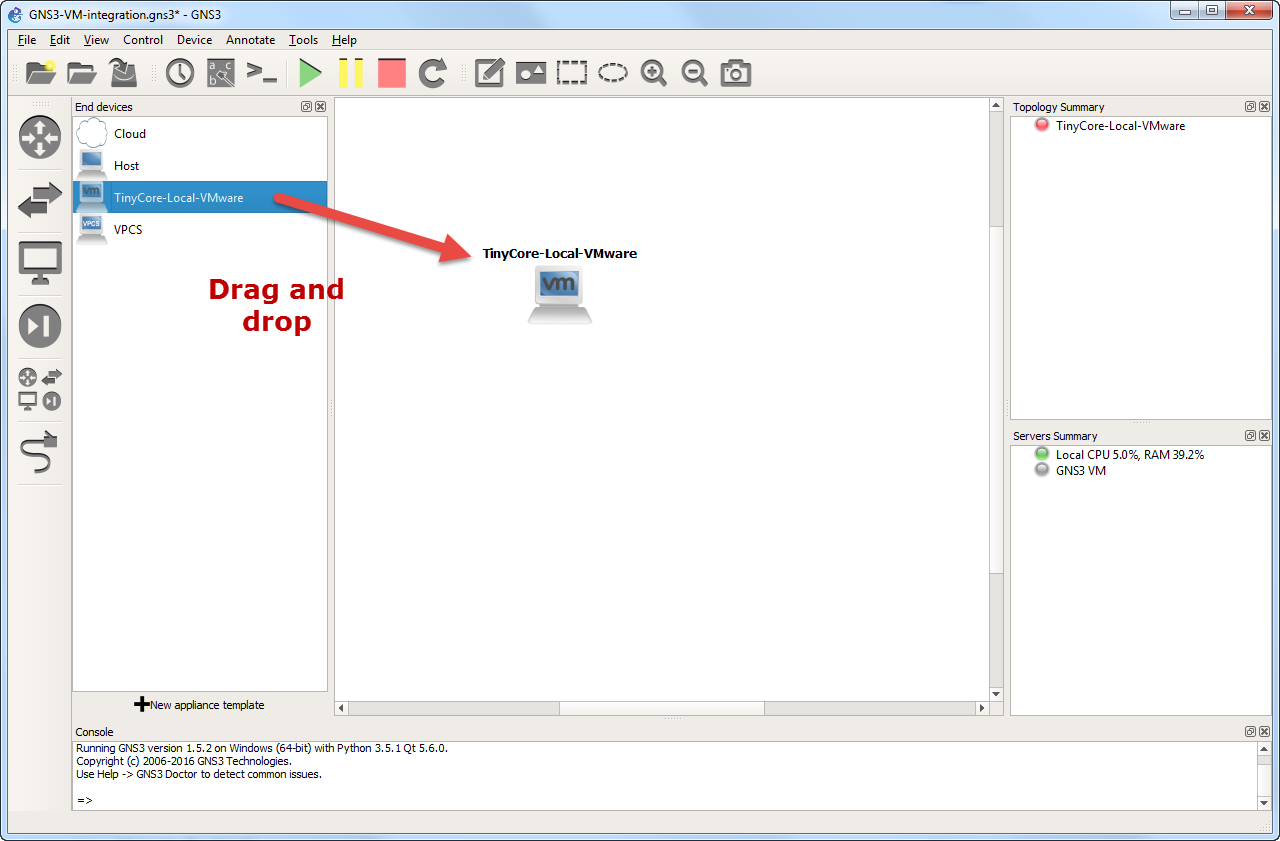
Drag and drop the selected node (device) to the GNS3 Workspace. An instance of the node becomes available in the Workspace. In this example, the TinyCore PC is now available:
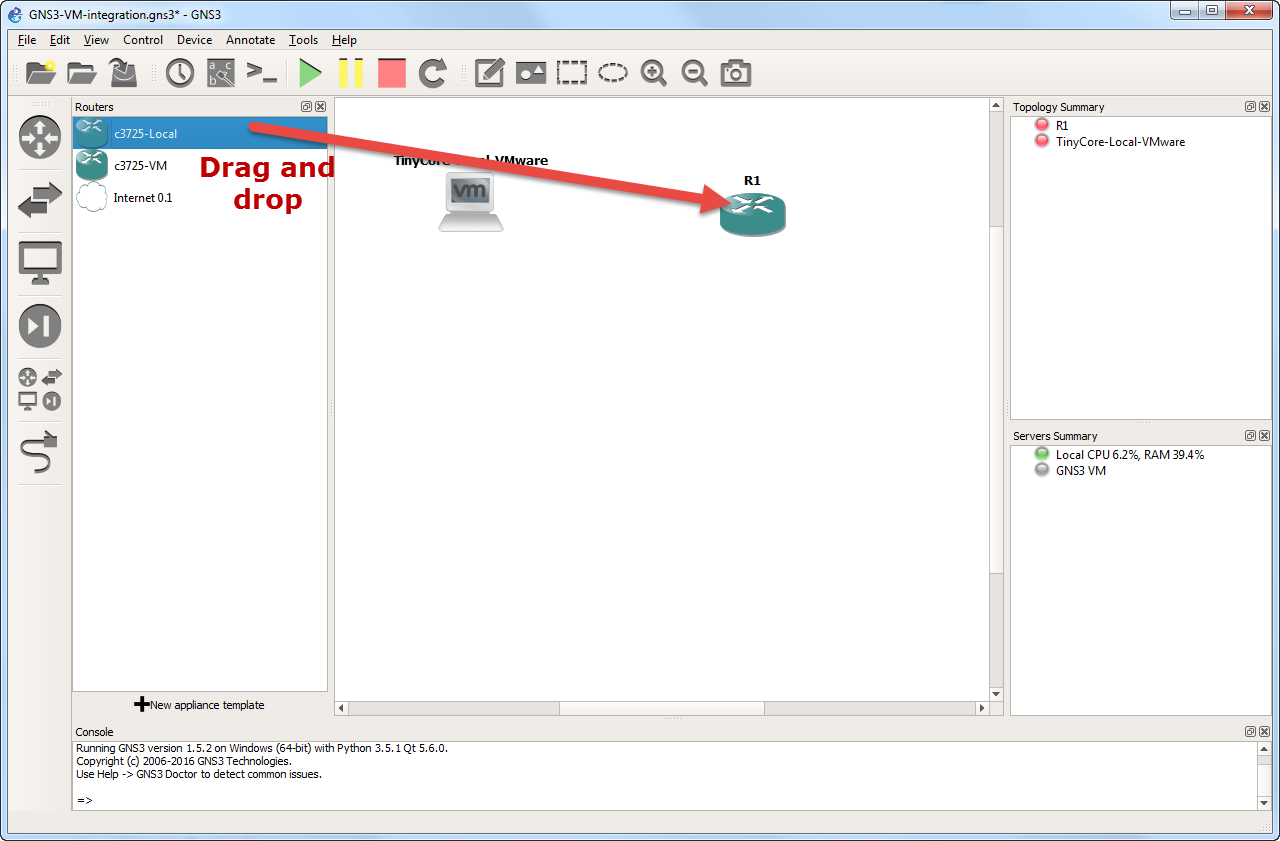
Drag and drop another node into the GNS3 Workspace. In this example, a router was added to the GNS3 workspace. The devices available will depend on your GNS3 configuration:
Click the Toolbar Device button again to collapse the group:
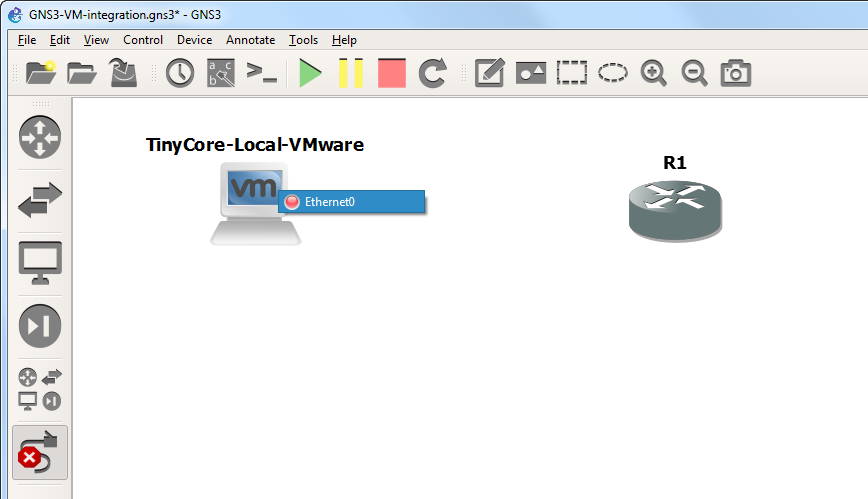
Click the Add a Link button to start adding links to your topology. The mouse cursor will change to indicate that links can be added:

Click on the VM device in your topology to display available interfaces. In this example Ethernet0 is available (this is device dependant):
Click the interface and then select another device in the topology to connect the interface to. In this example Ethernet 0 on TinyCore-Local-VMware was selected and the link was joined to R1:

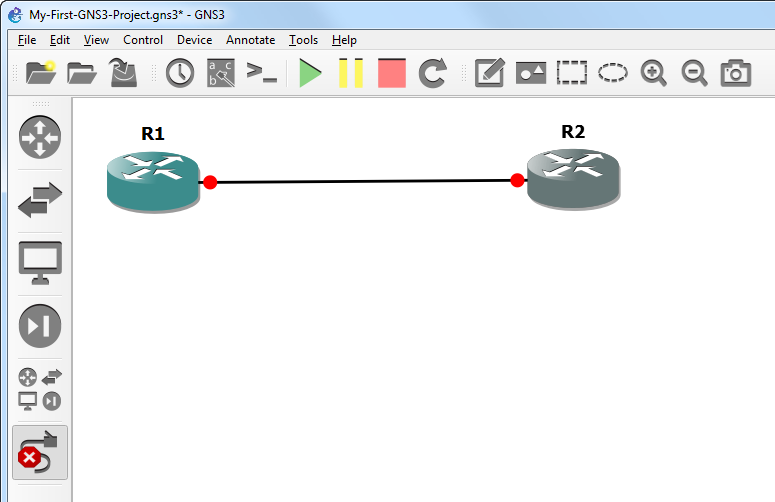
Select an interface on the second device to complete the connection. In this example, FastEthernet 0/0 on R2 was selected:
Click the Add a Link button to stop adding links. The mouse cursor will change back to normal to indicate that you have stopped adding links:

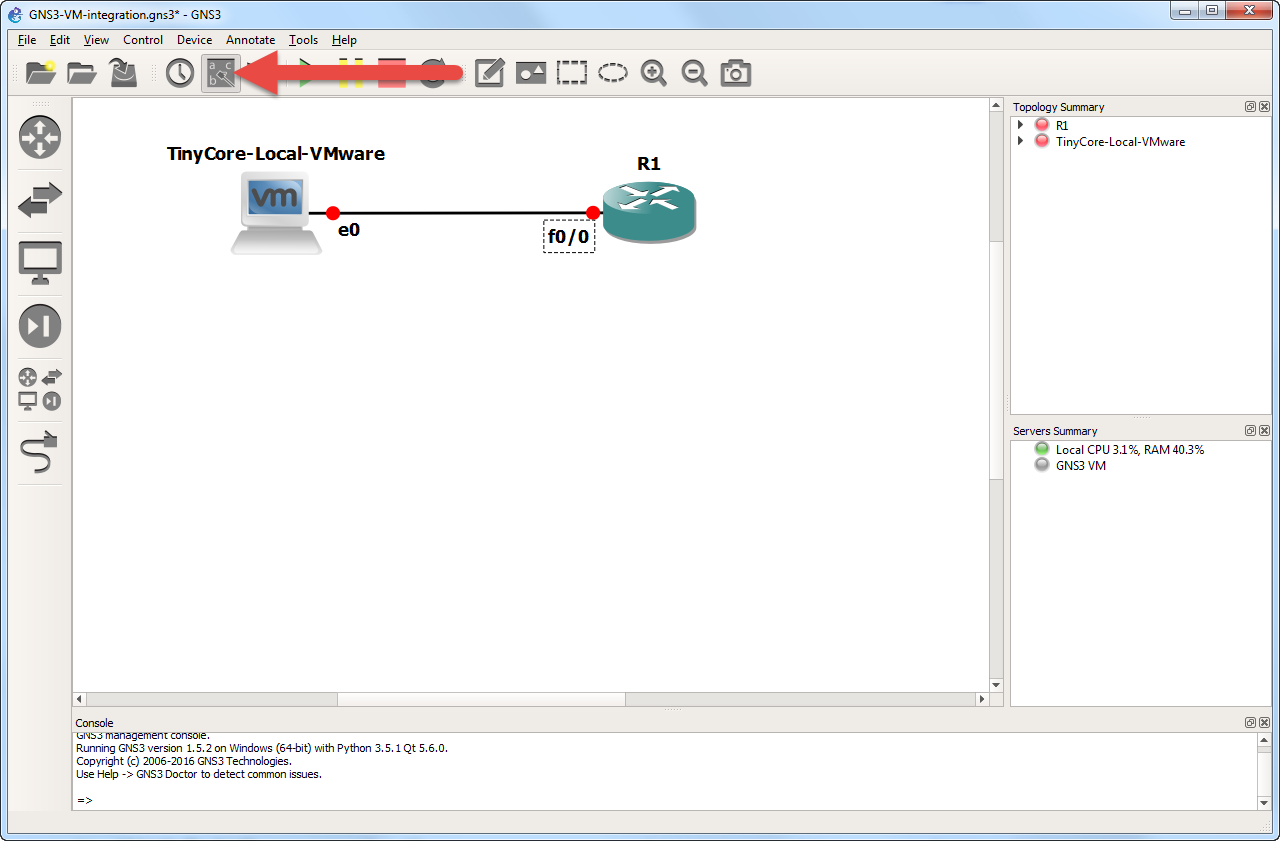
Click the Show/Hide interface labels button on the GNS3 Toolbar to display interface labels in your topology:
You are now ready to power on your network devices. Click the Start/Resume button on the GNS3 Toolbar to start up your network devices:
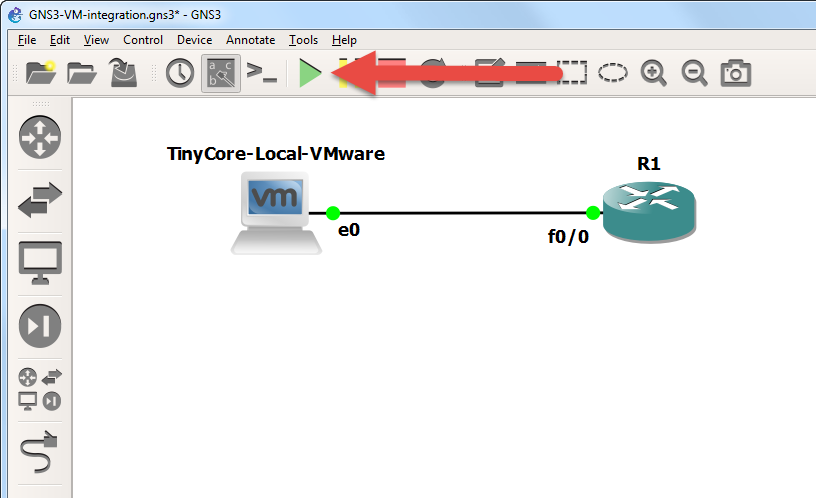
GNS3 indicates that the devices have been powered on by turning the interface connectors from red to green:

You are now ready to configure your devices. Click the Console connect to all devices button on the GNS3 Toolbar to open a connection to every device in the topology:
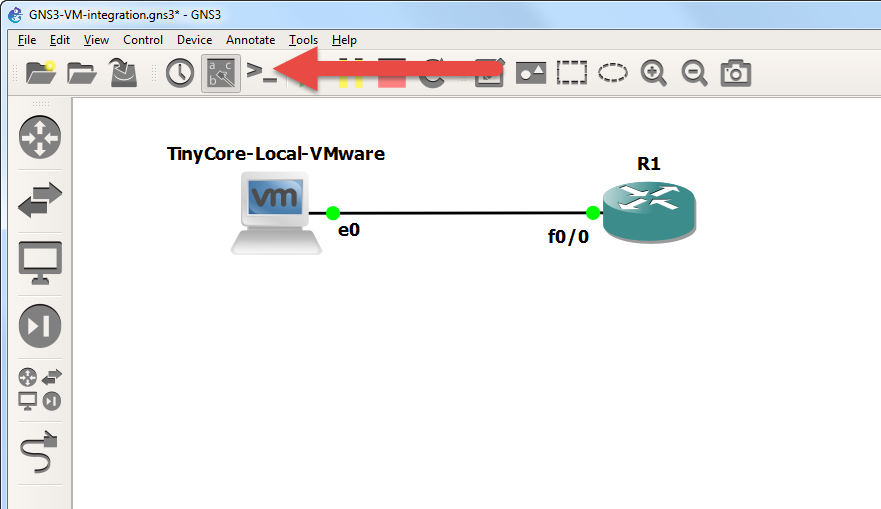
A console connection is opened to the router in the topology:

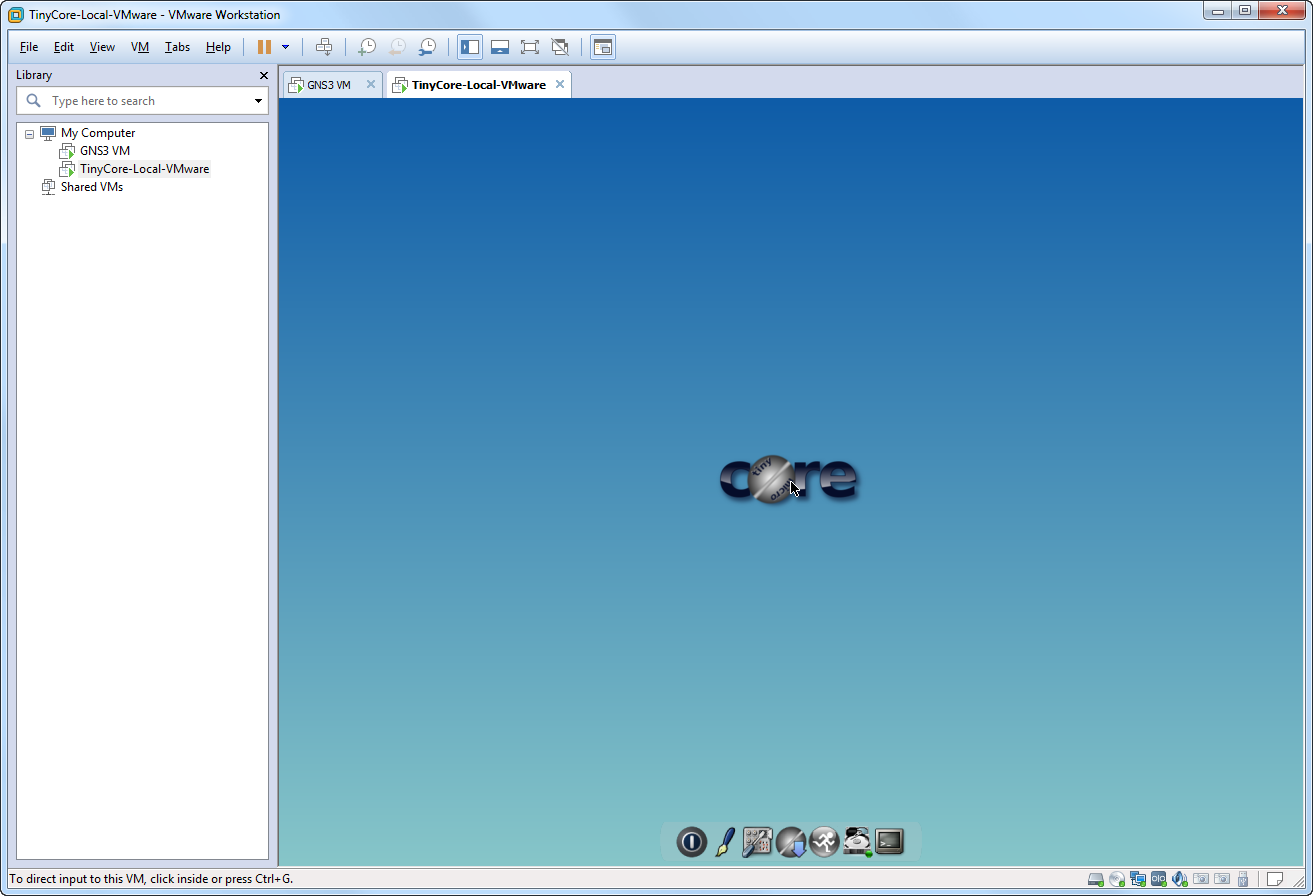
You can access the virtual machine console using VMware:
In this example, R1 is configured as follows:
R1# configure terminal
R1(config)# interface fastEthernet 0/0
R1(config-if)# ip address 10.1.1.1 255.255.255.0
R1(config-if)# no shutdown
R1(config-if)# end
R1#
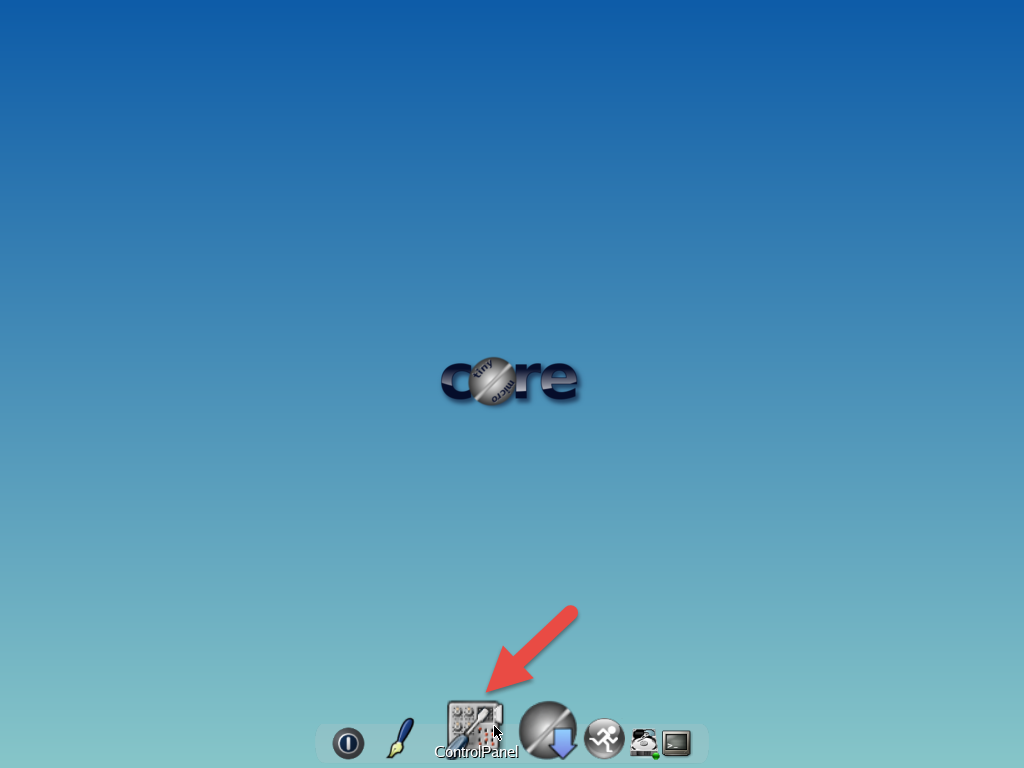
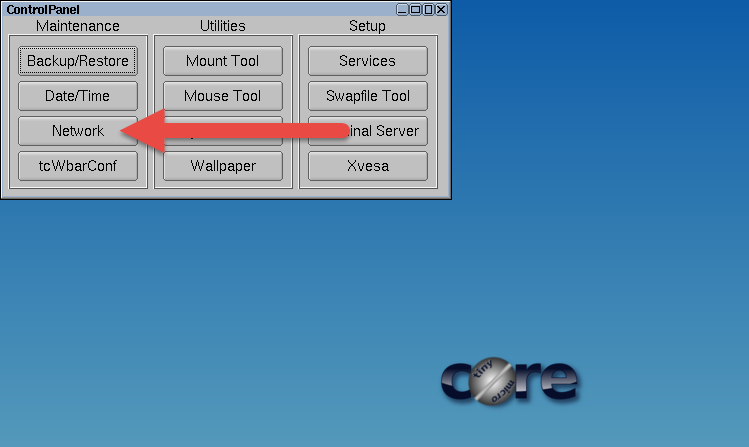
Configure the VM with an IP address in the same subnet. In TinyCore, this is done by first selecting the Control Panel:
Click Network:
Configure the relevant IP addressing information and click Apply and then Exit:
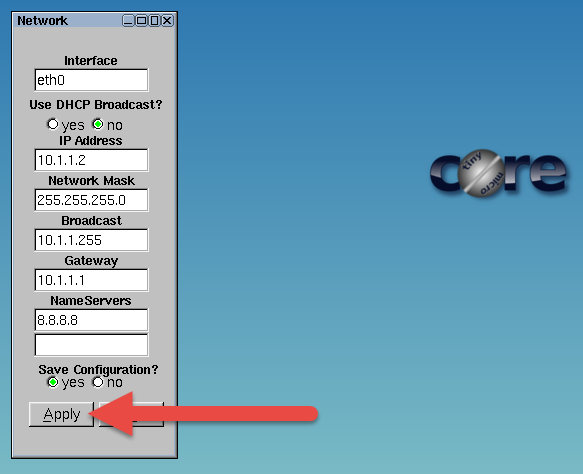
In this example the following settings have been used:
Interface: eth0
IP address: 10.1.1.2
Mask: 255.255.255.0
Broadcast: 10.1.1.255
Gateway: 10.1.1.1
DNS: 8.8.8.8
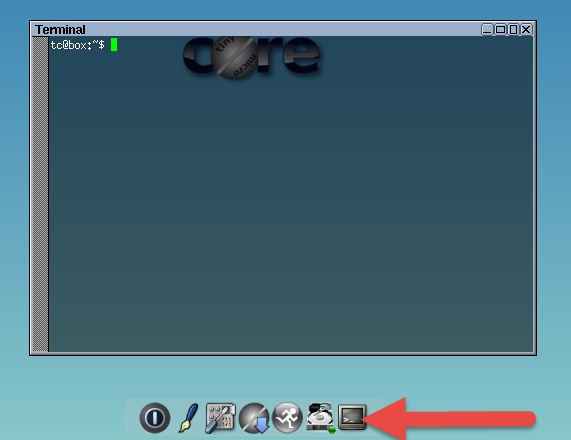
Open a terminal on the virtual machine:
Ping R1 from the TinyCore PC:
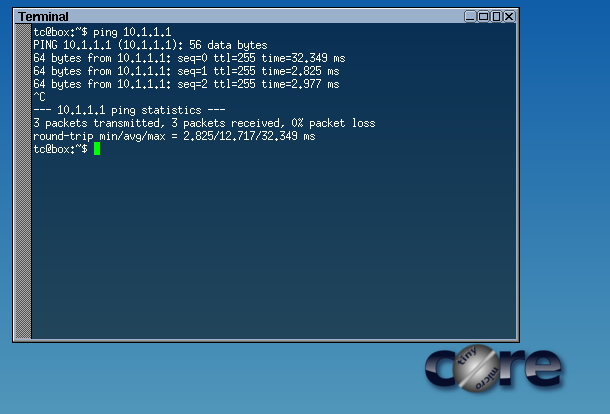
Result: The New TinyCore PC can ping the GNS3 router R1.
Congratulations! You have integrated a new VMware virtual machine with GNS3.


0 Yorum Yapıldı