
ADD A VIRTUAL MACHINE TO VMWARE WORKSTATION (LOCAL SERVER)

ADD A VIRTUAL MACHINE TO VMWARE WORKSTATION (LOCAL SERVER)
If you already have a virtual machine imported into VMware Workstation, go to the next section of this document.
Download or copy of a virtual machine ISO to your local computer. In this example, TinyCore Linux is used. This is a recommended lightweight Linux distribution:
Download link:http://tinycorelinux.net/downloads.html
ISO on local PC:

In VMware Workstation, click File and then New Virtual Machine:

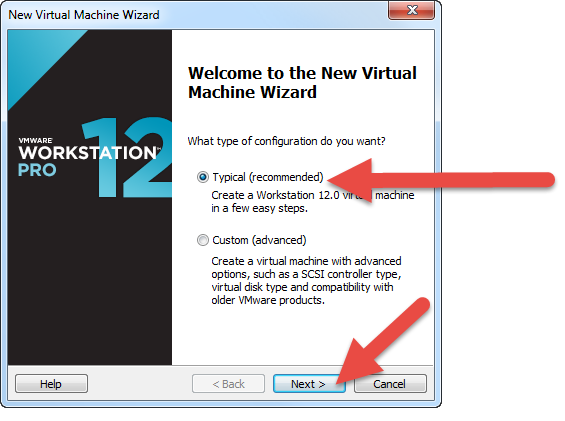
Follow the VMware Wizard to import create the new virtual machine. In the first step, select Typical and then click Next > :
Point to the ISO file downloaded and click Next > :

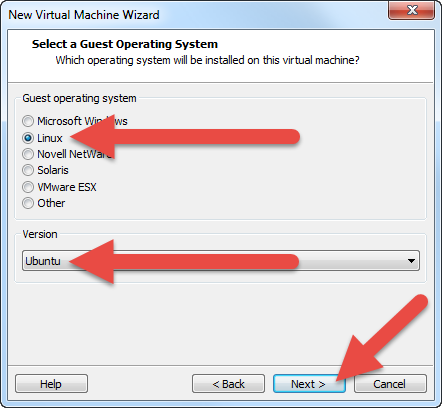
Select Linux as the Guest operating system and Ubuntu as the Version and then click Next >:
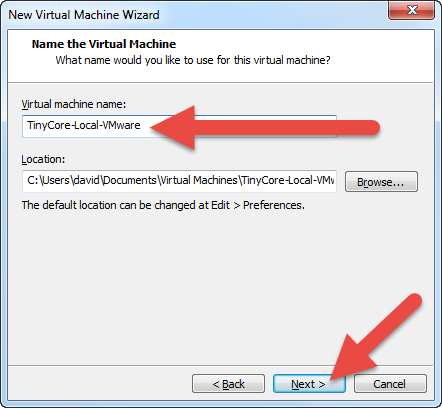
Name the VM and change the default Location if you want to. In this example the VM is called TinyCore-Local-VMware and the default Location is used. Then click Next >:
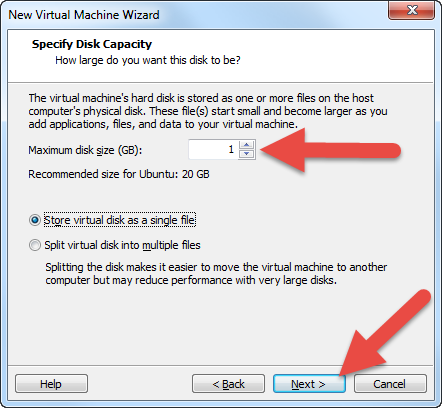
Specify the amount of disk space required by your virtual machine. In this example only 1 GB is allocated. Then click Next >:
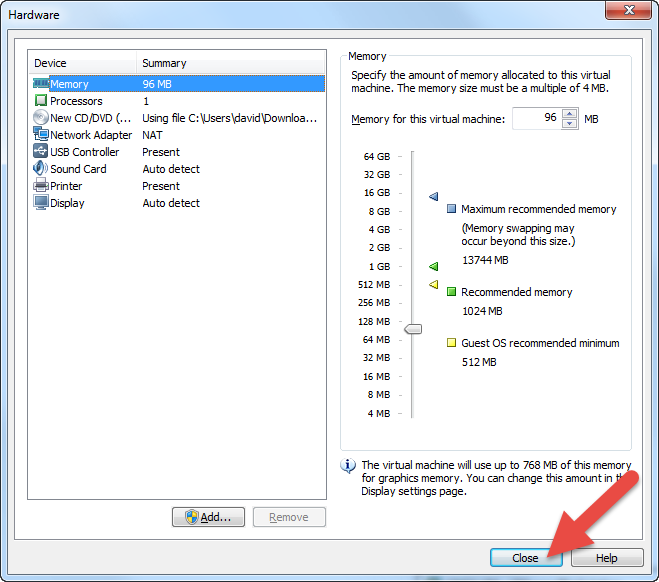
Click Customize Hardware:

Customize the hardware of the VM as required. In this example only 96 MB of RAM is required for the VM. Once the required changes have been completed, click Close:
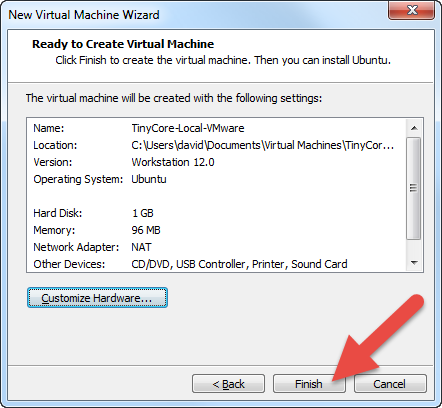
To complete the VM import, click Finish:
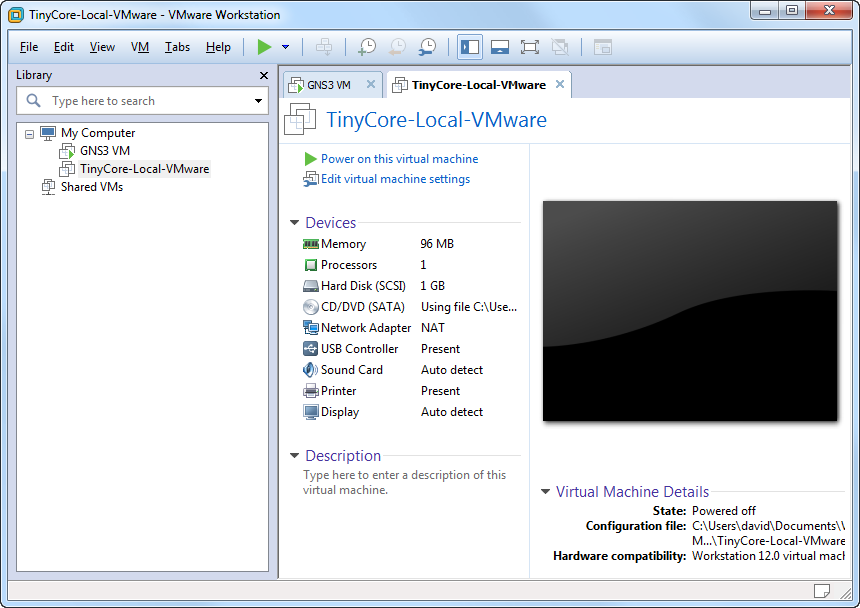
The VM is now available in VMware Workstation:
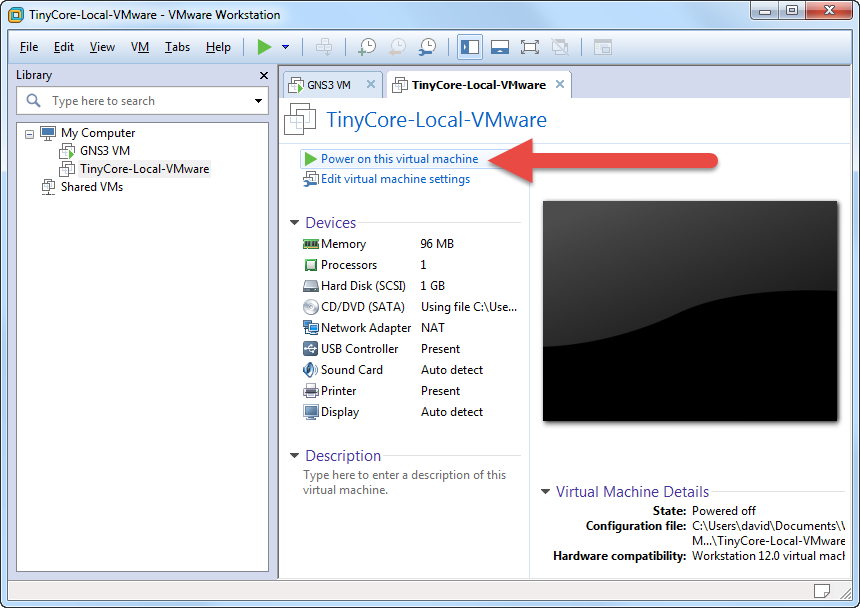
Power on the virtual machine in VMware Workstation:
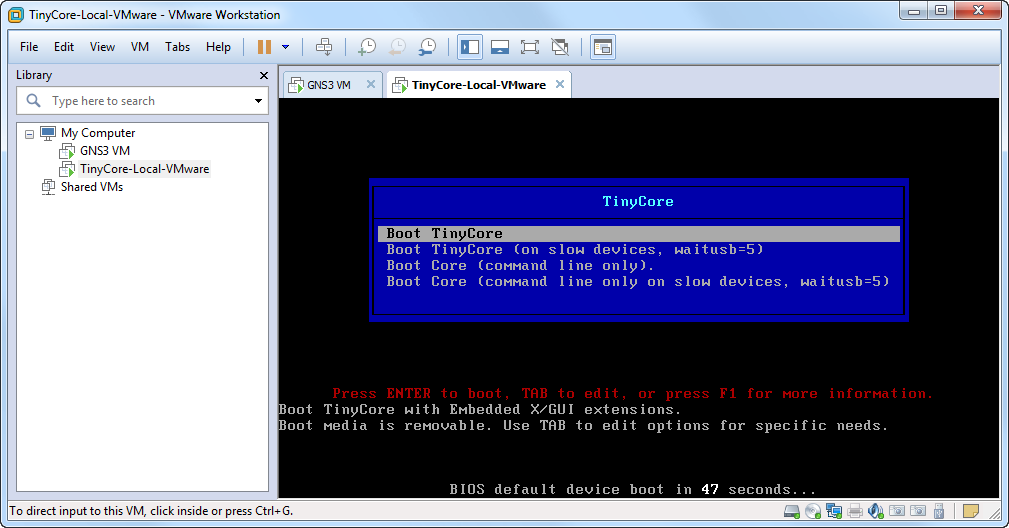
Install the operating system as required. TinyCore Linux does not require this and is booted to RAM by selecting Boot TinyCore:
Complete any operating system installation setup as required. In this example, TinyCore simply boots up and no configuration is required:

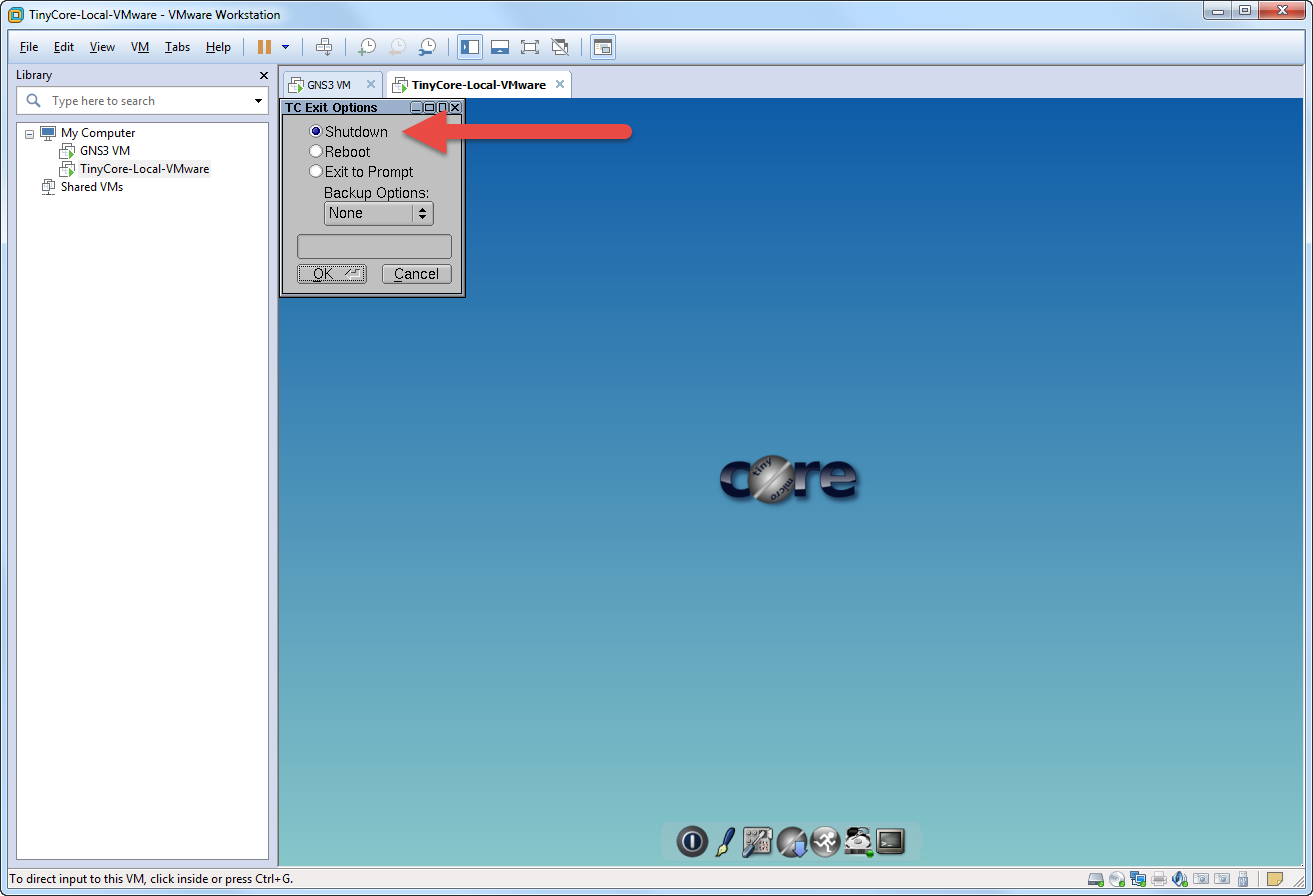
Once install is completed, shut down the virtual machine:
You are now ready to integrate the new VM with GNS3.


Henüz Yorum Yapılmamış, İlk Yorumu Siz Yapın